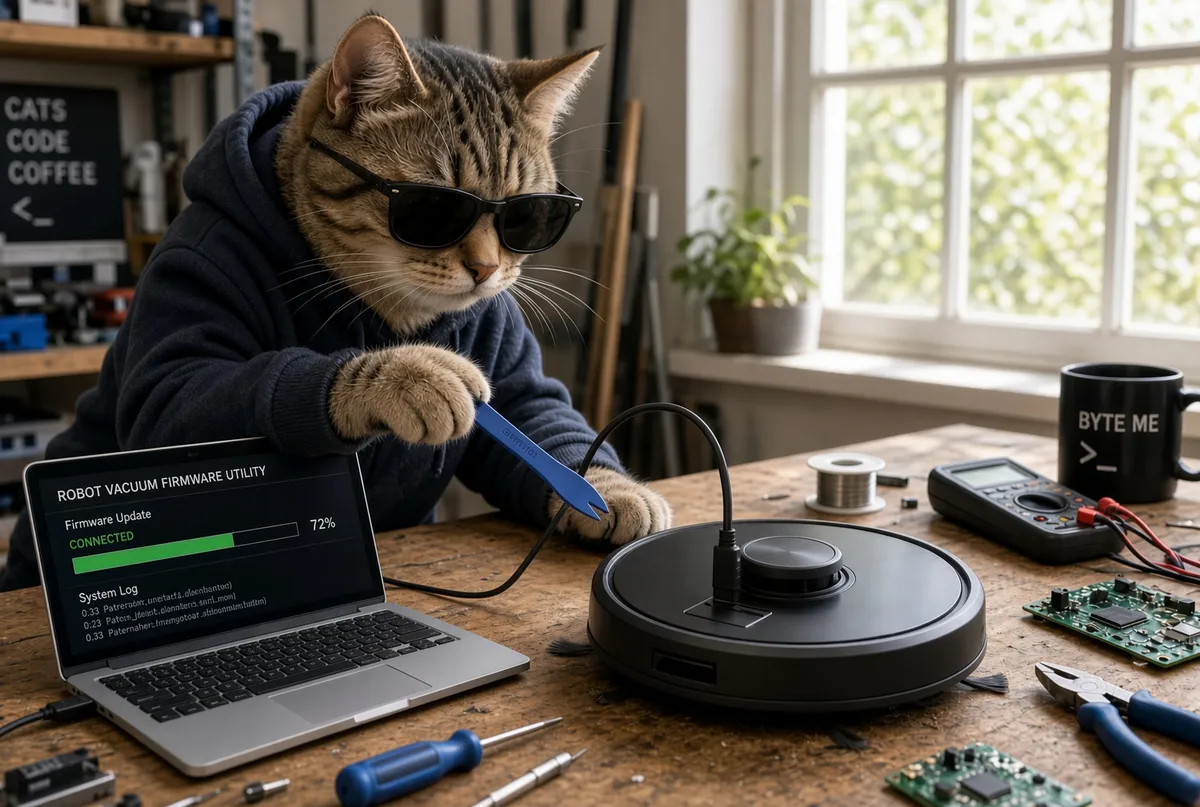
Privacy Tool Spotlight: Valetudo

Smart home technology is everywhere now. We're well past the days of the old Australian TV series Beyond 2000 declaring, "Don't look for it on the news tonight, don't look for it in the newspaper tomorrow... look for it in the year 2000." What once seemed like futuristic speculation has become everyday life. These devices are so common that they regularly go on deep discount during Amazon Prime events.
Smart cameras, doorbells, lights, and robot vacuums are filling more and more of our homes. But what happens when we don't fully understand the risks that come with them?
Picture this: you're at home using the bathroom while the robot vacuum makes its scheduled run. No big deal. It's just following the routine the owner set up. Then months later, you find out it took pictures of you during that private moment, and someone from the company shared those images online. This exact situation was documented in MIT Technology Review: "A Roomba recorded a woman on the toilet. How did screenshots end up on Facebook?"
People are starting to realize that cloud-connected devices in our homes collect a surprising amount of highly personal data. That data can often be accessed by far too many people. The privacy policies that come with these devices don't help much either. They're long, dense legal documents that rarely explain clearly where the data is processed, how it's used, or what real protections (if any) exist.
If you've read "Means of Control" by Byron Tau, bigger questions about data privacy start to surface. Is this information only being used to improve the product? Is it creating a detailed marketing profile of your home? Or is it being sold to unknown parties for unknown purposes? And it's really no surprise that even the US Government has moved to ban almost all robot vacuums for these reasons.
As documented in our most recent post, "Cloud Optional. Local Mandatory", we noted that we are either relying on end-to-end encrypted cloud services or locally hosted solutions. For home automation, our ongoing project of replacing popular commercial solutions with Home Assistant received another addition: a robot vacuum.
Robot vacuums are great at keeping floors clean between regular (and time-consuming) sessions with a traditional vacuum. This is especially true if you have pets that shed constantly (how are they not bald at this point?!), or if who-knows-what gets tracked into the house. Keeping the buildup of floor-level debris under control is a huge help. So after a lot of investigation, we decided to test converting a Eureka E20 Evo Plus Robot Vacuum with Valetudo to make it 100% local and managed via Home Assistant.
What is Valetudo?
Valetudo is open-source software that lets certain robot vacuums run completely offline and privately.
It acts as a local “cloud replacement.” Instead of sending maps, schedules, cleaning data, and sensor information to the manufacturer’s servers, Valetudo keeps everything on your home network. You control the vacuum through a simple web interface in any browser (phone, tablet, or computer) and can easily connect it to systems like Home Assistant.
It is not a full custom firmware. It takes thousands of hours to create working, reliable firmware for a robot vacuum—and that doesn't even get into reverse-engineering the stock software. Instead, think of it more like a smart overlay or “brain parasite” (brain slug for the Futurama fans out there) that sits on top of the robot’s original software. You still benefit from the manufacturer’s navigation, cleaning algorithms, and hardware features, but without the accounts, apps, ads, forced updates, or data sharing.
The result: a modern robot vacuum that just works locally, with no internet connection required for day-to-day use, and full privacy for the data it generates inside your home.
Why the Eureka E20 Evo Plus Robot Vacuum?
Per creator Sören Beye's explicit wishes, we are not encouraging anyone to attempt this conversion. We're just sharing insights into why we selected this solution, robot vacuum, and how it went for us. Above all else, any endeavor that requires making changes to a manufacturer's stock product could "brick" the unit, rendering it unusable. That's part of the reason why we selected the Eureka E20 Evo Plus. It was on the list of supported devices, and we found a really good deal on a new one. Since we're self-funding all of our projects, minimizing potential loss should the worst happen is important.
We already have some aging robots that are due to be replaced. They've put in thousands of hours keeping things in order without intervention, but those days are coming to a close as they steadily develop issues with age. It felt like the right time to replace them with something more privacy-focused that integrates seamlessly into our existing Home Assistant ecosystem.
Initially, the Eureka E20 Evo Plus was identified for a couple of reasons. The biggest factor was price, closely followed by its inclusion on Valetudo's compatibility list. It could be converted without physically altering the hardware, requiring only a mini-USB cable to perform the conversion after removing the top cover. We also noted high marks from other owners regarding performance.
One of the most important features was the use of LiDAR for mapping and navigation, alongside a complete lack of cameras. Even though this unit would only reside on the local network, we didn't want any images generated or stored on the device, just in case. It seemed like a great fit.
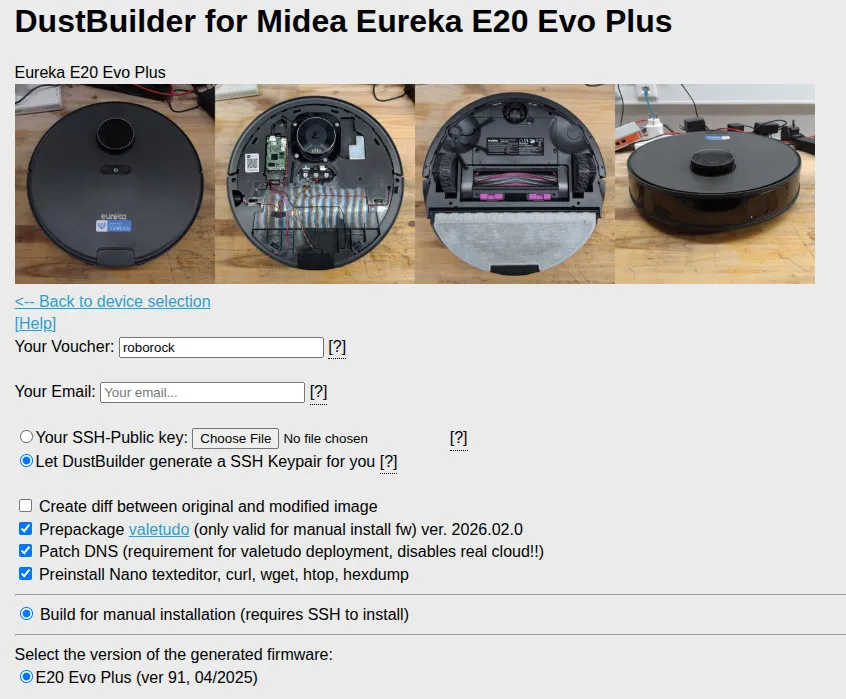
The Conversion
As with all battery-powered devices, the unit was unboxed and docked to charge for six hours as suggested by the manufacturer. Then came the nerve-wracking part: removing the top cover to access the mini-USB port. The top is a decorative plastic piece held in place by molded plastic hooks. Carefully working with the same nylon prying tools we've used to open so many devices before, it took a few minutes to spring all the clips. As others on the internet have reported, it feels like you're going to shatter the plastic the entire time.
Once removed and reconnected to the dock, the USB cable was inserted and the process kicked off. Since this was our first time using this software, we were building our own "institutional knowledge" along the way for future conversions—making a copious amount of notes while making our fair share of mistakes. Since we were already running Linux, we installed the Android Debug Bridge (adb), its related packages, and configured the necessary permissions to start the project. We then snagged a copy of valetudo-helper-httpbridge, which makes the new firmware created in DustBuilder available for the robot to download.
Once we received the email with the link to our unique copy of the Valetudo firmware, we downloaded it eagerly to get it loaded up. We actually went out of order compared to the official instructions because DustBuilder takes a few minutes to build the files. That downtime gave us a chance to run adb shell and see if we were on the "Happy Path" or "The Unhappy Path." We got lucky with the happy path.
At that point, we realized our UFW firewall was still active and needed to temporarily open port 1337 to transfer the package to the device via wget. Once loaded, we ran the scripts as directed, and the robot rebooted a few times.
It's Alive!
The fates were with us; even with a few missteps, the robot was functioning as expected. Because this model series has some known Wi-Fi driver quirks, we had to connect directly to the Valetudo web interface using the USB connection to enter our SSID and Wi-Fi password and give it a reserved IP address on the network. Once saved, the cable was disconnected, the firewall port was closed, and we could connect directly over our local network.
We were too excited to check if a newer firmware build was available - we wanted to start mapping and cleaning right away! We placed the robot in a closed test room that our older vacuums had cleaned in the past, giving us a clear point of comparison.
The unit mapped the space in an amazingly short amount of time. LiDAR made this operation much faster since it didn't need to complete a full, collision-heavy exploratory pass just to map the boundaries. That's when we kicked off the inaugural vacuum run. The robot completed the job in record time and was noticeably quieter. We also noticed how gentle it was around obstacles, whereas the veteran unit it's replacing regularly traded paint with the furniture and walls.
The little robot picked up an amazing amount of fur, dust, and debris. It auto-docked upon completion and emptied its bin. So we ran it again. And again. We ran it multiple times to test the controls and watch how the map was refined with each pass. We tested the map specific features, like "no-go" zones and virtual walls. We even tested the ability to spot clean a specific area on the map. Once we verified it was performing well and unobtrusively, we cleared the map, moved the unit to a larger area, and started a fresh mapping pass.
We also monitored all network traffic. The only external calls detected occurred when manually triggering the "Check for Updates" function, which queried three GitHub domains for the latest release. Due to the timing of our conversion, we successfully performed two updates during our trial period.
Four days later, not only is it making regular passes, but it's also fully integrated into our Home Assistant setup using a Mosquitto MQTT Docker container. That's a fancy way of saying: it's a keeper.
Our Impression
This is definitely a more advanced and financially involved project. For us, the results were exactly what we wanted: a piece of automation that doesn't share our information with the world while quietly performing its role as expected.
For the price, the vacuum exceeded our expectations. It does a great job of quietly keeping things clean, though there are a few quirks worth noting:
- The Collection Tank: The dock features a bagless design, which is great for reducing recurring supply costs, but the bin is completely clear - meaning everyone gets a front-row view of the collected dirt. We have similar complaints with any bagless vacuum.
- Carpet Traction: When operating on pile carpet, the wheels tend to slip slightly, which can occasionally impair its docking maneuvers when returning to base.
- The Voice: The built-in voice prompt can be startlingly loud out of the box, though thankfully it can be turned down via the Valetudo web interface.
None of these are dealbreakers, but they are points to keep in mind.
Integrating the robot with Home Assistant was a mix of easy and difficult. Once both Home Assistant and the vacuum were connected to MQTT, the robot and all its capabilities became available automatically without intervention. Setting up a dashboard card with full map controls took a bit more trial and error, but we eventually worked through the configuration. Now, we can direct it to clean specific rooms (called segments), groups of segments, or perform targeted spot cleans right from the Home Assistant dashboard.
Given the lower overall cost and successful rollout, we'll definitely look to acquire another unit in the future to convert for another floor.
We wouldn't recommend this project to someone just starting their privacy journey, but for those with more technical hands-on experience, it's a deeply rewarding upgrade.
Remember: We may not have anything to hide, but everything to protect.