Home Assistant: Pt 1 - Building a (tiny) Server

Looking for a smart home solution that puts you in control, not a big tech company? Home Assistant is a great option. It’s one of three key projects from the Open Home Foundation, a non-profit dedicated to creating open-source smart home technology.
The foundation’s projects include:
- Home Assistant: The central hub for your smart home.
- ESPHome: The platform for integrating your hardware.
- Music Assistant: A comprehensive music library manager.
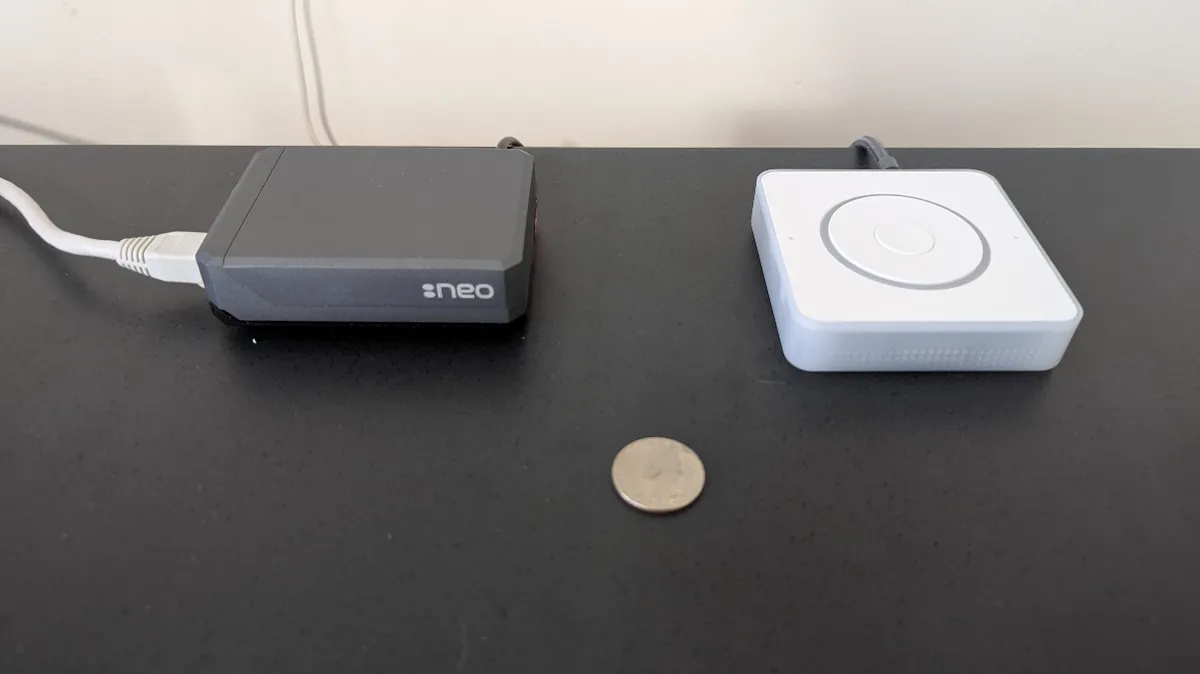
Like any home automation system, Home Assistant needs a server to run. The great thing is that this server can be surprisingly small. The one we built is just 3.75 by 2.75 inches, because Home Assistant requires only a small, dedicated CPU. This tiny footprint means it takes up less space in your home and uses less power as well.
For our project, we used a spare Raspberry Pi 4B and other parts we had on hand, spending around $20 on a new case and fan. If you’re a Raspberry Pi enthusiast, you might already have everything you need.
If you’d rather not build one from scratch, you have a few options. You can either build a server with a kit or buy a ready-made one models made by Nabu Casa, the developers of Home Assistant.
Getting Started: Three Easy Options
Whether you enjoy tinkering or want a system that works right out of the box, here are three easy ways to get your Home Assistant server up and running.
| Server | Name | Description | Price | URL |
|---|---|---|---|---|
| Raspberry Pi 4 | Pi 4 4GB Starter Kit | Build your own server with this all-in-one starter kit. | $119.95 USD | https://www.canakit.com/raspberry-pi-4-starter-kit.html |
| Home Assistant Green | Plug-and-play Home Assistant Server | Ready to go, simply plug it in and get started. | $118.95 USD | https://www.home-assistant.io/green/ |
| Home Assistant Yellow | Expandable Home Assistant Server | Similar to the Green model but with more hardware expandability. | $162.95 - $410.95 USD | https://www.home-assistant.io/yellow/ |
Note: All information and pricing are current as of August 2025.
Our Build
As we mentioned, we already had a lot of the parts we needed from previous projects. We did choose to upgrade the case and add a fan, but honestly, these weren't required for the server to work.
Here’s the complete list of components we used for our build:
| Component | Recommended Part | Notes |
|---|---|---|
| CPU | Raspberry Pi 4 4GB Model B | The core of your server. |
| Storage | SanDisk 64GB Extreme microSDXC | Look for a card labeled "A2" for optimal performance. |
| Power Supply | 3.5A Raspberry Pi 4 Power Supply | A high-quality PSU is crucial to prevent power-related issues. |
| Case | Argon NEO Raspberry Pi 4 Case | A durable case with excellent thermal properties. |
| Fan | Argon Fan HAT for Raspberry Pi 4 | Helps with cooling, especially under heavy load. |
| Networking | Cat6 Ethernet Cable | For a stable, fast network connection. |
| MicroSD Card Reader | Various | Needed to flash the operating system to the microSD card. |
| Micro HDMI to HDMI Cable | Various | For connecting a monitor during setup. |
| Keyboard & Mouse | Various | For input during the initial setup process. |
Many of these items are included in the CanaKit mentioned earlier. One of the best things about the Raspberry Pi is the endless options, countless online tutorials, and a strong community ready to help. You can easily start with a basic kit and upgrade components later, since most of them simply press together.
Installing the Home Assistant Operating System
Installing the software is surprisingly straightforward. We'll give you a high-level summary here, but you can find more detailed instructions on the Home Assistant Raspberry Pi installation page at https://www.home-assistant.io/installation/raspberrypi.
Here are the basic steps:
- Download and install the Raspberry Pi Imager. You can get it from the official Raspberry Pi website at https://www.raspberrypi.com/software/.
- Insert the microSD card into the card reader, and then plug the reader into your computer's USB port.
- Select the correct Raspberry Pi model in the Imager (Raspberry Pi 4b in our case).
- Choose the operating system. It's a bit hidden—look under "Other specific-purpose OS," then navigate to "Home assistants and home automation," and finally select "Home Assistant."
- Select your microSD card from the list of storage devices.
- Click "Install" and let the Imager do the rest.
Once it's done, your microSD card will be ready to power your new Home Assistant server!
And Now the Magic Happens
There are just three final steps to bring your new server to life:
- Insert the microSD card into the Raspberry Pi.
- Connect the Ethernet cable, making sure it's on the same network as your PC.
- Plug in the power supply.
Once everything boots up, open a browser on your computer and navigate to http://homeassistant.local:8123. Alternatively, you can use the Raspberry Pi’s IP address at http://x.x.x.x:8123 (just replace the "x's" with the actual IP).
If all goes well, you’ll be taken to your first dashboard, where you can begin configuring your Home Assistant setup.
In the next post, we’ll start connecting some of your smart devices. Until then, remember: we may not have anything to hide, but we have everything to protect.